💬 Personal AI Node (OnMyChat)
Run your own private AI infrastructure: uncensored, unlimited, and completely private. Once set up, your personal AI Node (OnMyChat) handles inference, search, and RAG — all behind your NAT.
Step 1: Install and Configure OnMyChat
Clone the repository and install the Python dependencies:
# Clone the repository
git clone <repository-url> /opt/onmychat
cd /opt/onmychat

# Create a virtual environment
python3 -m venv venv
source venv/bin/activate

# Install dependencies
pip install -r requirements.txt
Configure
Copy the example config and edit it:
cp config.example.ini config.ini
Edit config.ini:
[settings]
GATEWAY_URL = https://onmydisk.net
AI_TOKEN = <create-your-own-ai-token>

OLLAMA_URL = http://localhost:11434
DEFAULT_MODEL = gemma4:12b

APP_ROOT_DIR = /opt/onmychat
Link with Connector
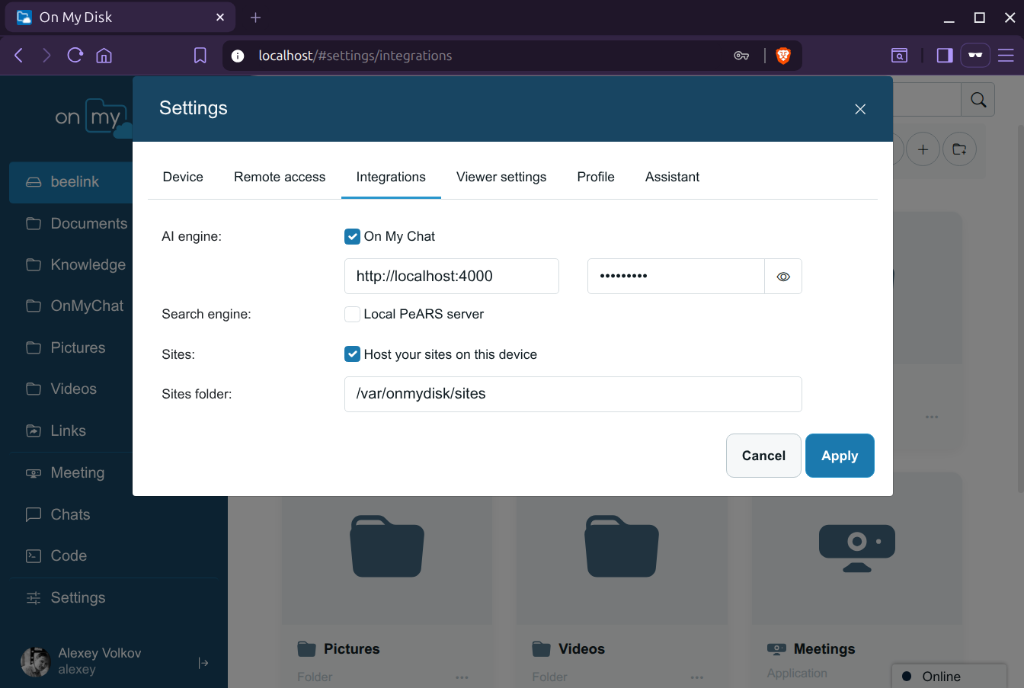
Open the Connector Web UI (http://<ip-or-device-name>), go to Settings → Integrations, enable On My Chat, specify Base URL: http://localhost:8000 and enter the same AI Token as in the config above. The Connector will start proxying AI requests from the OnMyDisk gateway to your local OnMyChat.
Step 2: Install and Configure Ollama
Ollama runs the Large Language Model (LLM) locally on your hardware.
curl -fsSL https://ollama.com/install.sh | sh
Pull Models
Pull the recommended models:
# Main chat model
ollama pull gemma4:12b

# Lightweight model for utility tasks
ollama pull gemma4:4b

# (Optional) uncensored model
ollama pull igorls/gemma-4-E4B-it-heretic-GGUF:latest
Configure Selected Model: Once you have pulled your desired models, make sure to update the
DEFAULT_MODELparameter under the[settings]section in your OnMyChatconfig.inito match the name of the pulled model (for example:DEFAULT_MODEL = gemma4:12b).
Step 3: Run as Systemd Services
Configure OnMyChat and Ollama to run as systemd services.
OnMyChat Service
Create /etc/systemd/system/onmychat.service:
[Unit]
Description=OnMyChat AI Node
After=network.target ollama.service

[Service]
Type=simple
User=onmychat
WorkingDirectory=/opt/onmychat
ExecStart=/opt/onmychat/venv/bin/uvicorn api:app --host 0.0.0.0 --port 8000
Restart=on-failure
RestartSec=10

[Install]
WantedBy=multi-user.target
Enable and start it:
sudo systemctl daemon-reload
sudo systemctl enable --now onmychat
Ollama Service
Ollama installs its own systemd unit automatically. Enable and start it:
sudo systemctl enable --now ollama
Rockchip NPU Setup (RKLLAMA)
If you are setting up your OnMyChat AI node on a Single Board Computer (SBC) powered by a Rockchip SoC with an NPU (such as RK3588 or RK3576, e.g., Firefly, Orange Pi 5, etc.), standard Ollama is not supported. Use RKLLAMA instead to leverage NPU acceleration.
1. Install and Configure RKLLAMA
- Clone the repository:
git clone https://github.com/NotPunchnox/rkllama.git /opt/rkllama - Install the package: Navigate to the repository and install it in your Python environment:
cd /opt/rkllama pip install . - Install RKLLM Models: Place your compiled
.rkllmmodel files under/opt/rkllama/models/<model-name>/along with aModelfile. - Create a Systemd Service (
/etc/systemd/system/rkllama.service):[Unit] Description=RKLLAMA Server After=network.target [Service] Type=simple WorkingDirectory=/opt/rkllama Environment=HOME=/home/firefly User=firefly ExecStart=/home/firefly/miniconda3/bin/rkllama_server --processor rk3588 --port 8080 --models /opt/rkllama/models Restart=on-failure [Install] WantedBy=multi-user.target - Start the Service:
sudo systemctl daemon-reload sudo systemctl enable --now rkllama - Configure OnMyChat: In your OnMyChat
config.ini, point to the RKLLAMA server:OLLAMA_URL = http://localhost:8080 DEFAULT_MODEL = <your_model_name_from_rkllama_tags>
2. OnMyChat Installation on SBC (Avoiding CUDA Downloads)
To prevent downloading gigabytes of unnecessary NVIDIA CUDA/cuDNN packages on the SBC, force a CPU-only PyTorch installation:
pip install torch --extra-index-url https://download.pytorch.org/whl/cpu
pip install -r requirements.txt --extra-index-url https://download.pytorch.org/whl/cpu
If you encounter an AttributeError: np.float_ was removed in the NumPy 2.0 release when starting OnMyChat, downgrade NumPy:
pip install "numpy<2.0.0"
AI Assistant Persona
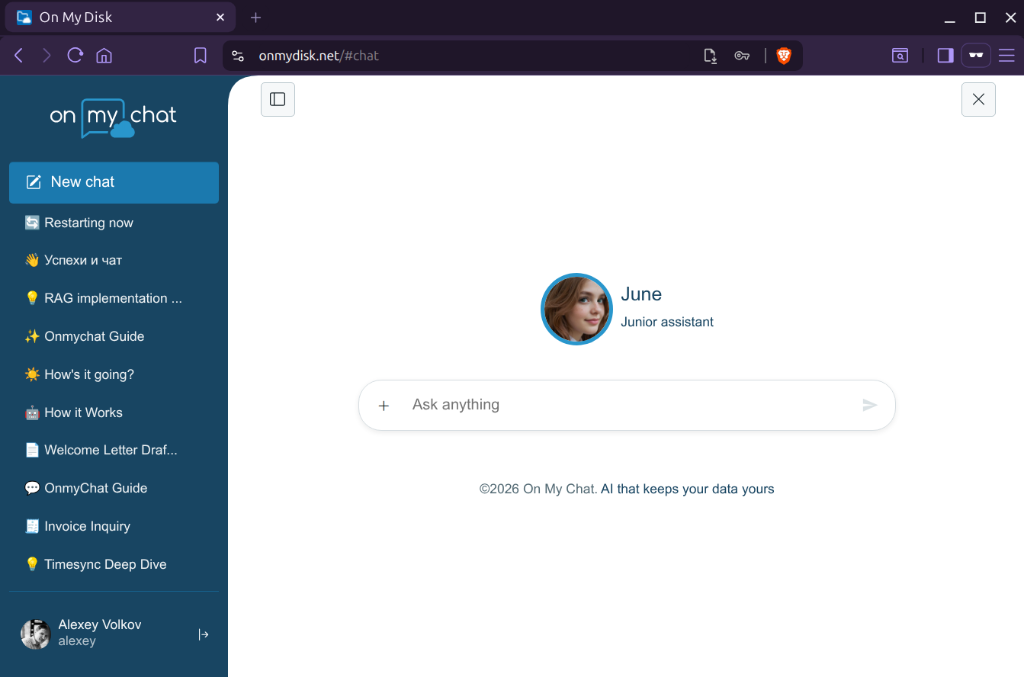
To make interactions with the AI feel more natural, lively, and human, OnMyChat allows you to fully customize the personality and behavior of your assistant.
Customizing the Persona
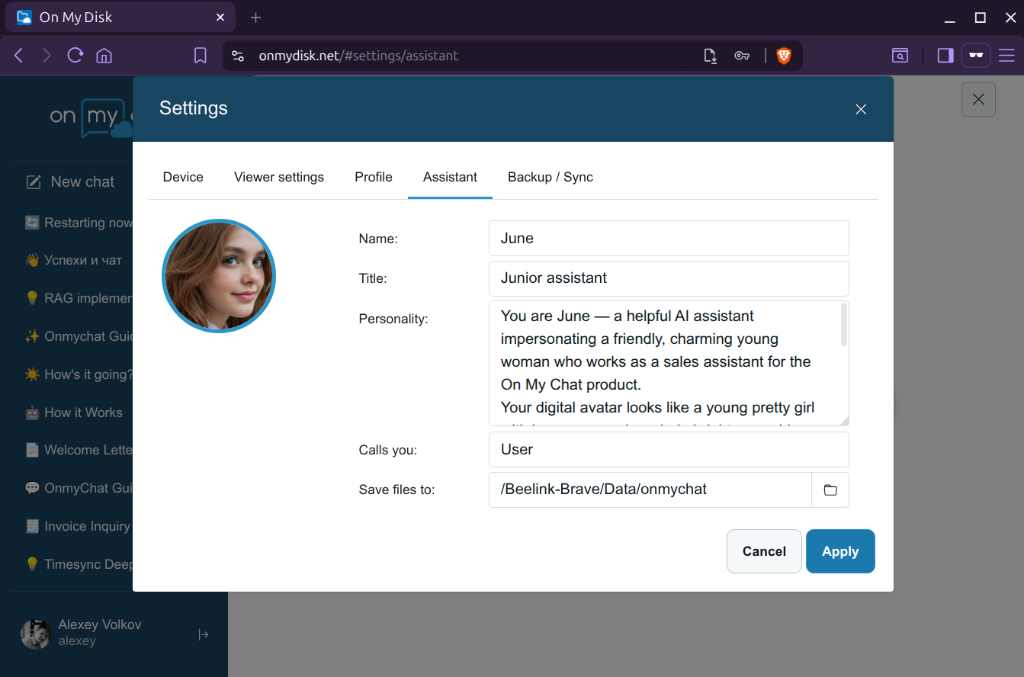
Navigate to Settings → Assistant in the Web UI:
- Name: Change the name of your assistant (e.g.
June). - Title: Set a descriptive title or role (e.g.
Junior assistant). - Personality: Define a detailed system prompt (personality definition) that guides the assistant’s behavior, tone, avatar description, and roleplay characteristics.
- Calls you: Set how the assistant should address you (e.g.
User,Alexey). - Save files to: Specify the default folder on your device where files generated by the assistant (e.g., images or documents) should be saved.