⚙️ Advanced Client (Connector)
The Advanced Client (Connector) turns any single-board computer (SBC) or a Linux box into a NAS connected to your On My Disk account. Besides, it acts as a gateway host for your personal AI Node and local search engines.
Prerequisites
| Component | Minimum | Recommended |
|---|---|---|
| CPU | 4 cores | 8+ cores |
| RAM | 8 GB | 32 GB |
| Storage | 20 GB free | 100+ GB (SSD) |
| OS | Ubuntu 22.04 / 24.04 | Ubuntu 24.04 LTS |
| Network | Internet access | Installed OnMyDisk Connector |
Step 1: Install the OnMyDisk Connector
Pre-built .deb packages are available for amd64, arm64, and armhf:
| Architecture | Download URL |
|---|---|
| x86_64 (amd64) | https://forge.bineon.team/repo/Ubuntu/focal/onmydisk-connector-amd64.deb |
| ARM64 | https://forge.bineon.team/repo/Ubuntu/focal/onmydisk-connector-arm64.deb |
| ARMHF (armv7) | https://forge.bineon.team/repo/Ubuntu/focal/onmydisk-connector-armhf.deb |
1. Install Dependencies & Package
Run the following commands to install dependencies and the package:
sudo apt update
sudo apt install samba udisks2 libqt5core5a libqt5network5 \
    libqt5websockets5 libqt5widgets5 libqt5sql5 \
    libqt5webchannel5 ffmpeg ruby-full build-essential zlib1g-dev

# For x86_64 (amd64)
wget https://forge.bineon.team/repo/Ubuntu/focal/onmydisk-connector-amd64.deb
sudo dpkg -i onmydisk-connector-amd64.deb

# For ARM64 (Raspberry Pi 4/5, Orange Pi, Firefly RK3588, etc. running 64-bit OS)
# wget https://forge.bineon.team/repo/Ubuntu/focal/onmydisk-connector-arm64.deb
# sudo dpkg -i onmydisk-connector-arm64.deb

# For ARMHF (armv7) (Raspberry Pi 3, etc. running 32-bit OS)
# wget https://forge.bineon.team/repo/Ubuntu/focal/onmydisk-connector-armhf.deb
# sudo dpkg -i onmydisk-connector-armhf.deb

sudo apt --fix-broken install   # if any dependencies are missing
2. Post-Installation Setup
Configure the client to run under your system user to ensure correct access permissions to your home directory. Edit /etc/onmydisk/onmydisk.conf (or /etc/onmydisk/onmydisk.conf.user) and add your username and group under the [FileNode] section:
[FileNode]
Port=80
User=your_username  # replace with your system username
Group=your_groupname # replace with your system group name
Save the configuration and restart the service:
sudo systemctl restart onmydisk
3. Verify Service Status
systemctl status onmydisk
# Should show: active (running)
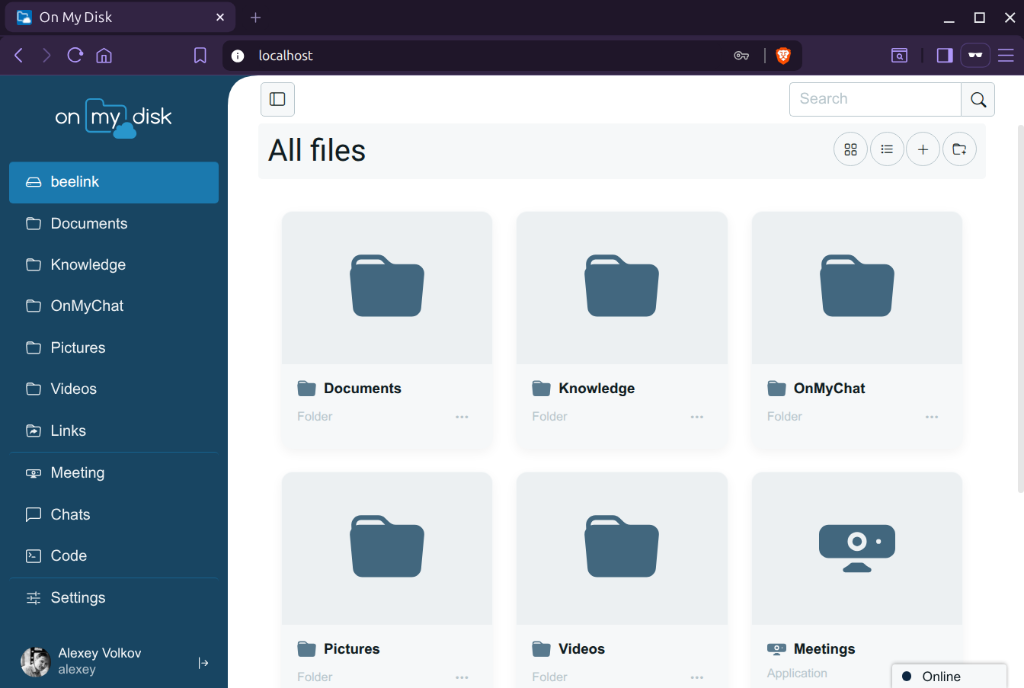
The Connector listens on port 80 by default. Open http://<your-device-ip-or-name> or http://localhost/ in your browser to access the Web UI.
Step 2: Register and Link to On My Disk
Initially, your device runs in anonymous mode, accessible only within your local network. To access your device over the Internet and share files/AI with other users:
- Create an On My Disk account or sign in using Google at onmydisk.net.
- Open the Connector Web UI:
http://<ip-or-device-name>and navigate to profile settings (Settings → Profile). - Click Link device to account. In the pop-up window, log in with your credentials.
- Verify in the gateway interface onmydisk.net that your device appears in the My Devices section.
NAS Features
Unlock powerful network storage capabilities via the Web UI:
- 🎛️ Plug and Play: Check Automatically mount external drives to make connected USB drives automatically appear as storage devices in your On My Disk account.
- 📂 Automatic Indexing: Check Automatic reindexing to make files on mounted drives indexed automatically, making them searchable and accessible.
- 🌐 Seamless Access: Check Publish as network drives to make your external drives available as network drives (Samba) in your local network.